How To Setup Docker and Docker Compose for Ghost Blog
Work out how to select a relatively inexpensive VPS to host your own blog like mine by learning how to install and leverage Docker and Docker Compose

Overview
With relatively little spend ~6$ USD a month (The price of about two coffees a month) you can build your own Ghost blog like my own that can serve tens of thousands of people a month without breaking a sweat using Docker, Docker-compose and a few tricks I've found out along the way.
Decide on a VPS Provider
To install Docker, we first need a VPS or Virtual Private Server, I'm going to go with Vultr as they have some high-quality ones here in Australia and across the globe.
Essentially you're looking for a VPS with the specs above this:
- Fast, Single CPU
- >1 GB Ram
- SSD/NVME SSD Storage device with 20GB or more of space.
- Latest Linux kernel that'll support Docker such as Ubuntu 18.04.
Deploy The VPS
As we're going to deploy Cloudflare over the top of the NGINX server to serve our blog requests to the end user, the location of your server (the origin) is less of an issue nowadays. I would however deploy your server wherever you believe your audience for your blog will sit. For me, this is in Australia.
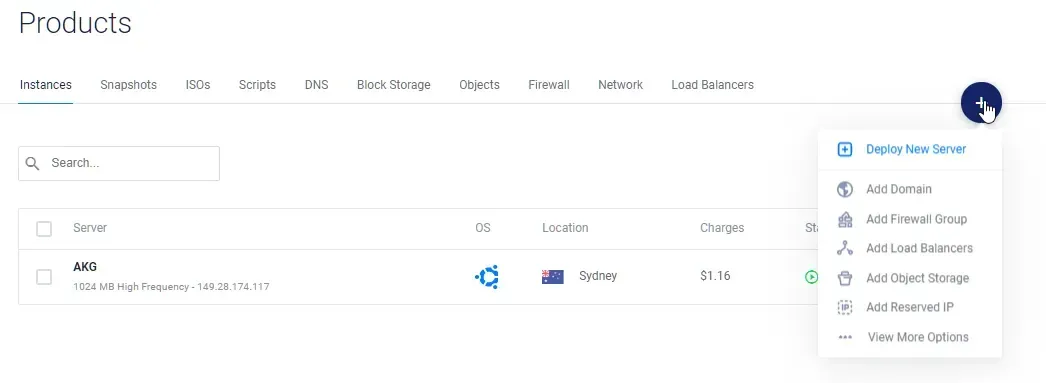
Under the product Section of Vultr, click the Plus button and deploy a new server.
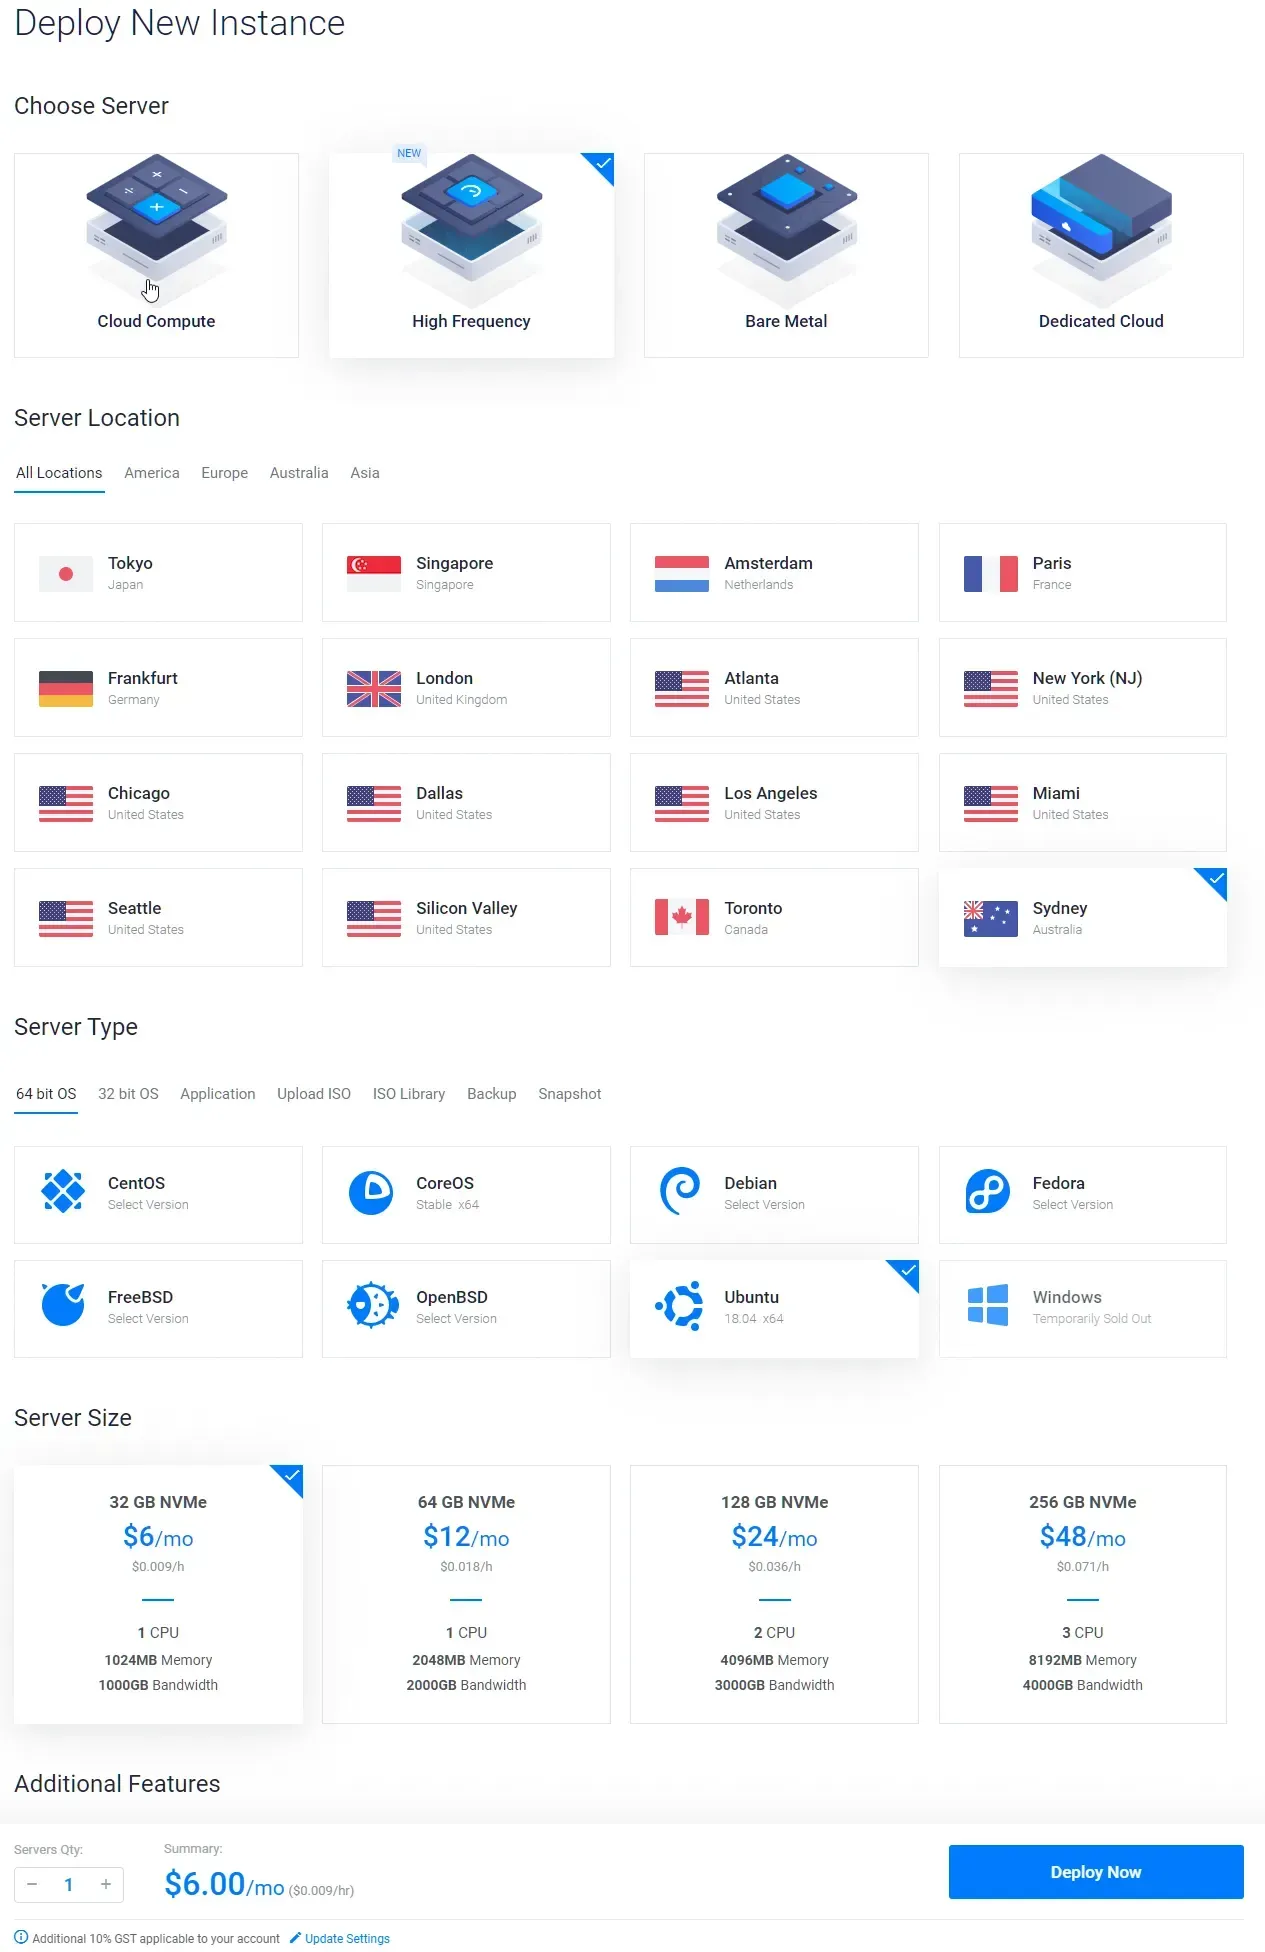
For my alexgallacher blog I'm going to use a High-Frequency Instance, based out of Sydney, using Ubuntu 18.04 x64 (use Ubuntu 21.04 if possible) which comes out to $6 USD a month - Just over the price of two coffee's a month (at least here in Australia).
Setting up SSH keys to connect to your VPS is not covered in my guide but can be found on Vultr's documentation website.
Connect to the VPS and Install Docker for a sub-user
Unfortunately, the Docker installation package that's typically available in the official Ubuntu repository is likely not to be the latest version. To ensure we use the latest version of Ubuntu 18.04 let's grab it from the official Docker Repo.
Let's update our Ubuntu Packages:
sudo apt update
Next, Install a few pre-requisite packages which let APT use packages over HTTPS:
sudo apt install apt-transport-https ca-certificates curl software-properties-commonAdd the GPG key for the Docker repository:
curl -fsSL https://download.docker.com/linux/ubuntu/gpg | sudo apt-key add -Add docker repository to the apt sources:
sudo add-apt-repository "deb [arch=amd64] https://download.docker.com/linux/ubuntu bionic stable"Let's now update the package database with the newly added Docker Package:
sudo apt updateInstall Docker's community edition from the new repository we added:
sudo apt install docker-ceConfirm that Docker is running
sudo systemctl status dockerIf Docker is running let's create a sub-user that's allowed to use Docker via the docker group (Replace akg with whatever username you want to create) You will need to fill out a new password for this user. I typically enter blank info for the user's full name, room number, work phone, home phone and other and type Y once complete.
adduser akg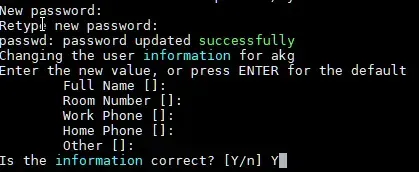
Next, let's add that user to the docker group to allow it to run Docker commands.
sudo usermod -aG docker akgInstall Docker-Compose
Run apt-get to get docker-compose. The tool is used to define and create multiple docker applications through the use of YAML. The neat bit about this is we can create, spin up and delete apps on the fly.
apt-get install docker-composeConfirm docker-compose is installed by running the following command
docker-compose --versionConclusion
Okay great, you've successfully installed docker and docker-compose.