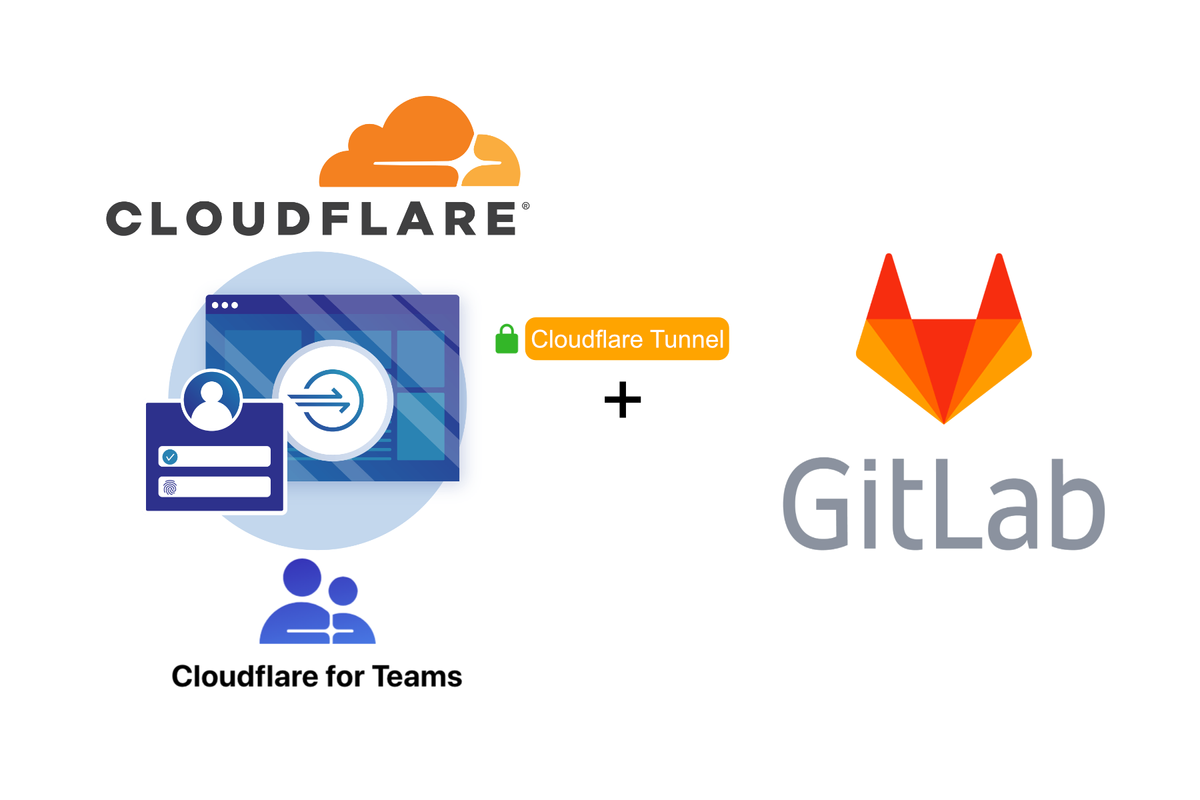
Self Host Gitlab on Docker with Cloudflare Zero Trust
Learn how to self-host Gitlab on your own private VPS using Docker and Docker Compose. Configuring Cloudflared and protecting your Gitlab instance using Cloudflare Access on Cloudflare's Zero Trust platform

This guide assumes you already have a VPS setup and running and a Domain already set up on Cloudflare.
Overview
Learn how to self-host Gitlab on your own private VPS using Docker and Docker Compose. Configuring Cloudflared and protecting your Gitlab instance using Cloudflare Access on Cloudflare's Zero Trust platform
Deploy GitLab on Docker with Docker Compose
This tutorial assumes that you've already installed Docker and Docker compose on your VPS.
First, let's create the Docker-compose file that will spin up our service -I like to put all my docker containers in the same folder.
cd
mkdir stacks
cd stacks
nano docker-compose.yml
Create the folder to house the Docker-compose file
In the docker-compose.yml file use the following YAML to define the service we want to deploy
version: '3.7'
services:
  web:
    hostname: lab.alexgallacher.com
    image: "gitlab/gitlab-ee:latest"
    environment:
      GITLAB_OMNIBUS_CONFIG: |
        gitlab_rails['initial_root_password'] = 'adminadmin'
    ports:
      - "80:80"
      - "2224:22"
    restart: always
    shm_size: 256m
    volumes:
      - "/home/<username>/stack_volumes/gitlab/config:/etc/gitlab"
      - "/home/<username>/stack_volumes/gitlab/logs:/var/log/gitlab"
      - "/home/<username>/stack_volumes/gitlab/data:/var/opt/gitlab"
Gitlab Docker Compose file
I've included the docker-compose.yml file below to make it easier 👇
Let's break down the Docker Compose file so we understand what's inside:
- We're setting the hostname as the URL that you'll end up browsing to
- The image tells Docker that we want to pull the latest Gitlab/Gitlab-ee image
- The Environment contains the initial root password that's required to login to the Gitlab web interface as the latest version of Gitlab prevents additional user signup without administrator approval forcing us to have to set this when we deploy the container.
- We're mapping several Ports here 80:80 tells Docker to spin up the web interface on port 80 - this works for us as we don't need to deploy over HTTPS as our Cloudflared setup covers us for this. Port 2224:22 maps an external port of 2224 to port 22 for ssh. This port enables you to git push to your own Gitlab instance. It's worth pointing out the reason why we're mapping 2224 as opposed to 22 to port 22 in the container is that I'm running ssh through cloudflared to my VPS.
- There are three primary Volumes that we need to map to the host from the container for Gitlab to use. These are Config, Data and Logs. Depending on how you have set up your VPS your approach to storing data from containers may differ. For me, Under my /home/username/ folder I've created a folder called "stack_volumes/GitLab/ and duplicated the 3 folders - Config, Data and Logs. To do this yourself execute the following commands line by line. (Note: you may need to use Sudo here if it throws a permission error, it's entirely dependent on how you've setup and configured your users on your VPS):
cd home/<username>
mkdir stack_volumes
cd stack_volumes
mkdir gitlab
cd gitlab
mkdir logs
mkdir config
mkdir data
Bash commands to create the folder structure I use to manage host-to-container volumes for Docker Compose
Before we spin up the Gitlab service let's configure Cloudflared and Cloudflare's DNS settings for our website.
Update Cloudflared Configuration
This section of the tutorial assumes that you've configured Cloudflared as a service on your VPS, check out how to configure Cloudflared on Cloudflare or check out my previous blog around setting up Cloudflared for a secure Ghost blog
Let's go in and edit the cloudflared configuration file. Navigate over to the Cloudflared configuration file
cd /etc/cloudflared
Navigate to the Cloudflared Configuration file location
Let's go ahead and edit the file
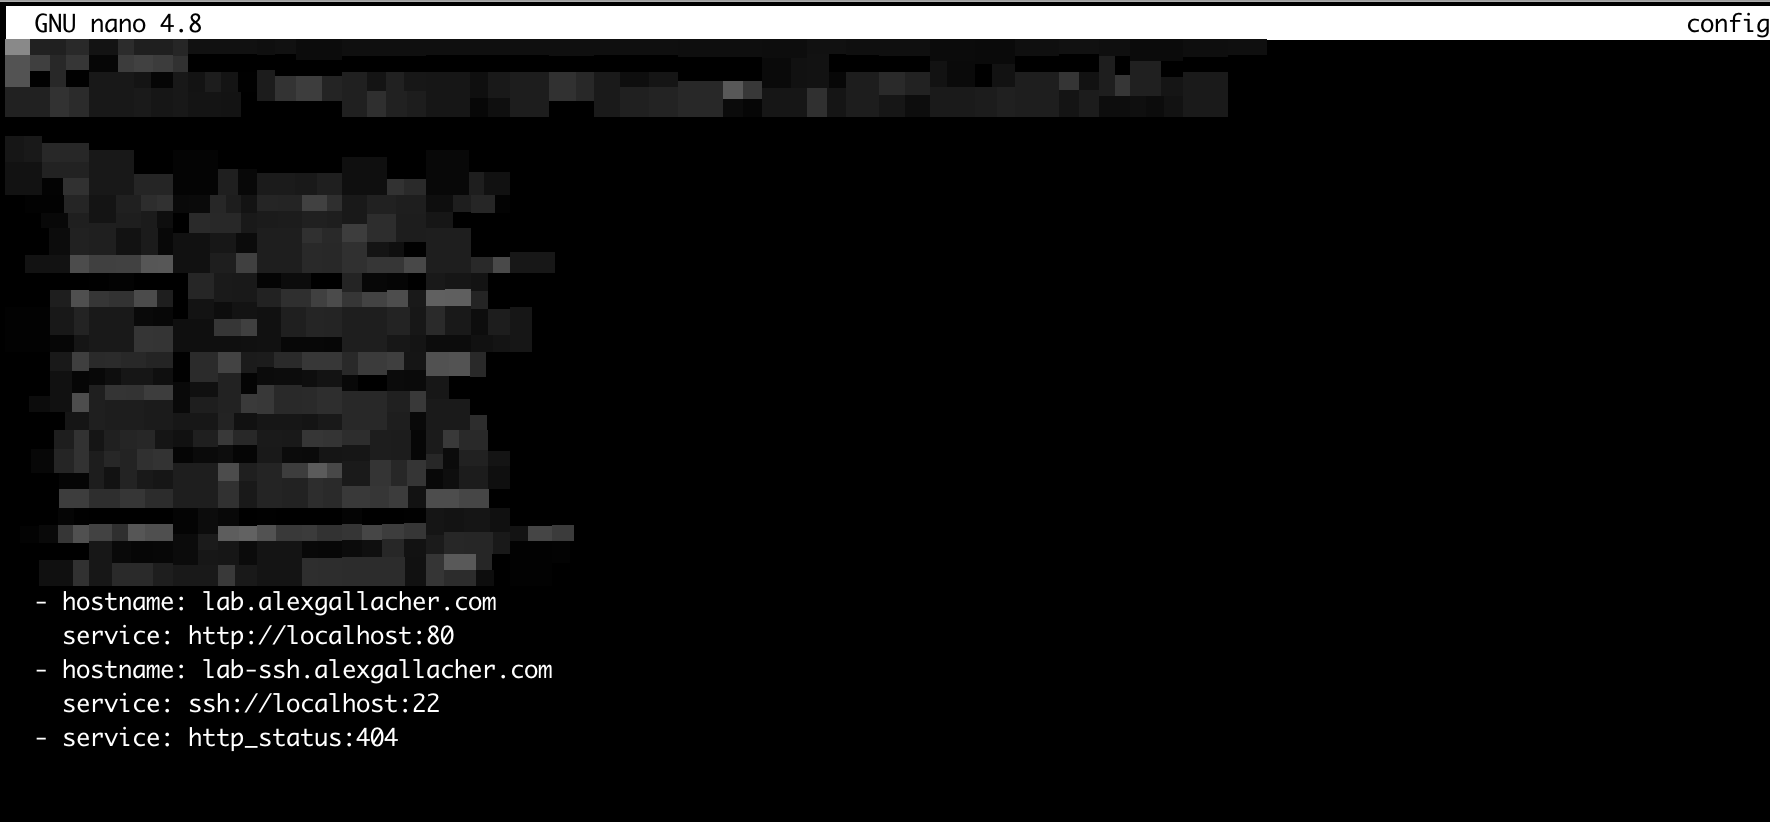
nano config.ymledit the Cloudflared config.yml
let's go ahead and add two new hostnames and associated local service url's
  - hostname: lab.alexgallacher.com
    service: http://localhost:80
  - hostname: lab-ssh.alexgallacher.com
    service: ssh://localhost:22
Add additional cloudflared services
Let's explore what we've just added a bit further here:
- Cloudflared is redirecting requests for lab.alexgallacher.com to the localhost service running on port 80 and is also redirecting requests for lab-ssh.alexgallacher.com to a localhost service running port 22.
If you've managed to update the cloudflared config.yml file your configuration file should look something like this now:
You're going to now need to restart the Cloudflared service to apply the config.yml changes, you can do that through this quick command - note depending on the Linux distro you're using here, this command for you might be different. If you're struggling to find the correct command you can simply reboot your VPS and the changes will be applied via 'sudo reboot'.
sudo systemctl restart cloudflaredAdd additional cloudflared services
If you are using Cloudflared for SSH, you'll notice a temporary disconnect while the service restart - this is normal!
Update DNS Settings on Cloudflare
So we've updated Cloudflared to automatically redirect incoming traffic to lab.alexgallacher.com to the correct localhost service running within our VPS. next we need to instruct Cloudflare to forward any requests to lab.alexgallacher.com to our cloudflared service running on our VPS.
Browse to the DNS settings on your Cloudflare dashboard and add two new CNAME records, 1 for lab and one for lab-ssh that redirect to your cloudflared service ID. If you don't know what this you'll need to run through how to setup up Cloudflared on your VPS
The two DNS entries should look something like this when you're done:


Start the Gitlab container
Once you've set up the Gitlab Docker compose file, Cloudflared and configured the two CNAME records on your DNS records within Cloudflare you're now in a position to start up Gitlab for the first time.
It's worth noting here that Gitlab is pretty intensive each time it's started. I had tried to spin it up on 2 GB Ram and 2 GB of Swap space but this caused timeout's when the container was rolling through the installation of all the recipes. to avoid this I recommend setting up at least 4 GB of swap space if you're relatively limited on ram (<2GB).
let's cd back into the folder where we have the docker-compose.yml file located from before and spin up the service.
cd stacks
docker-compose up
Browse to the folder where the docker-compose.yml configuration file is located and tell Docker to spin up the Docker-compose file.
This will spin up the service with you viewing the outputs from the container. If you want to detach from the container simply tag on -d
docker-compose up -dDetach from the container
If anything goes wrong you can gracefully stop the container by commanding:
Docker-compose downstop the containers deployed from the Docker compose file
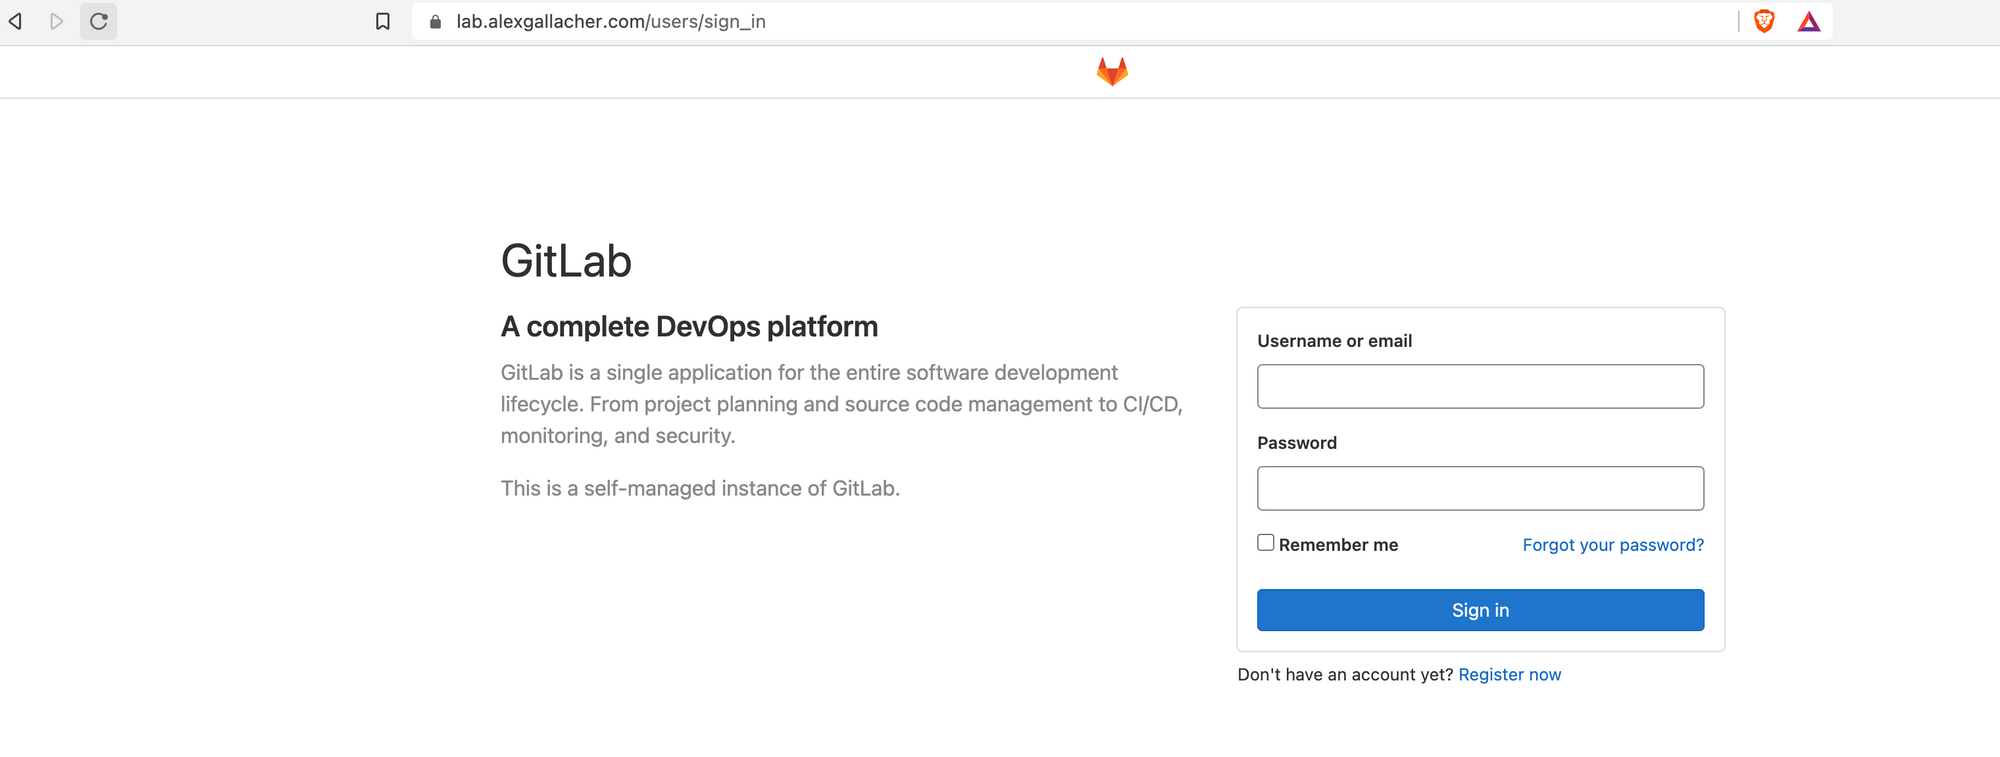
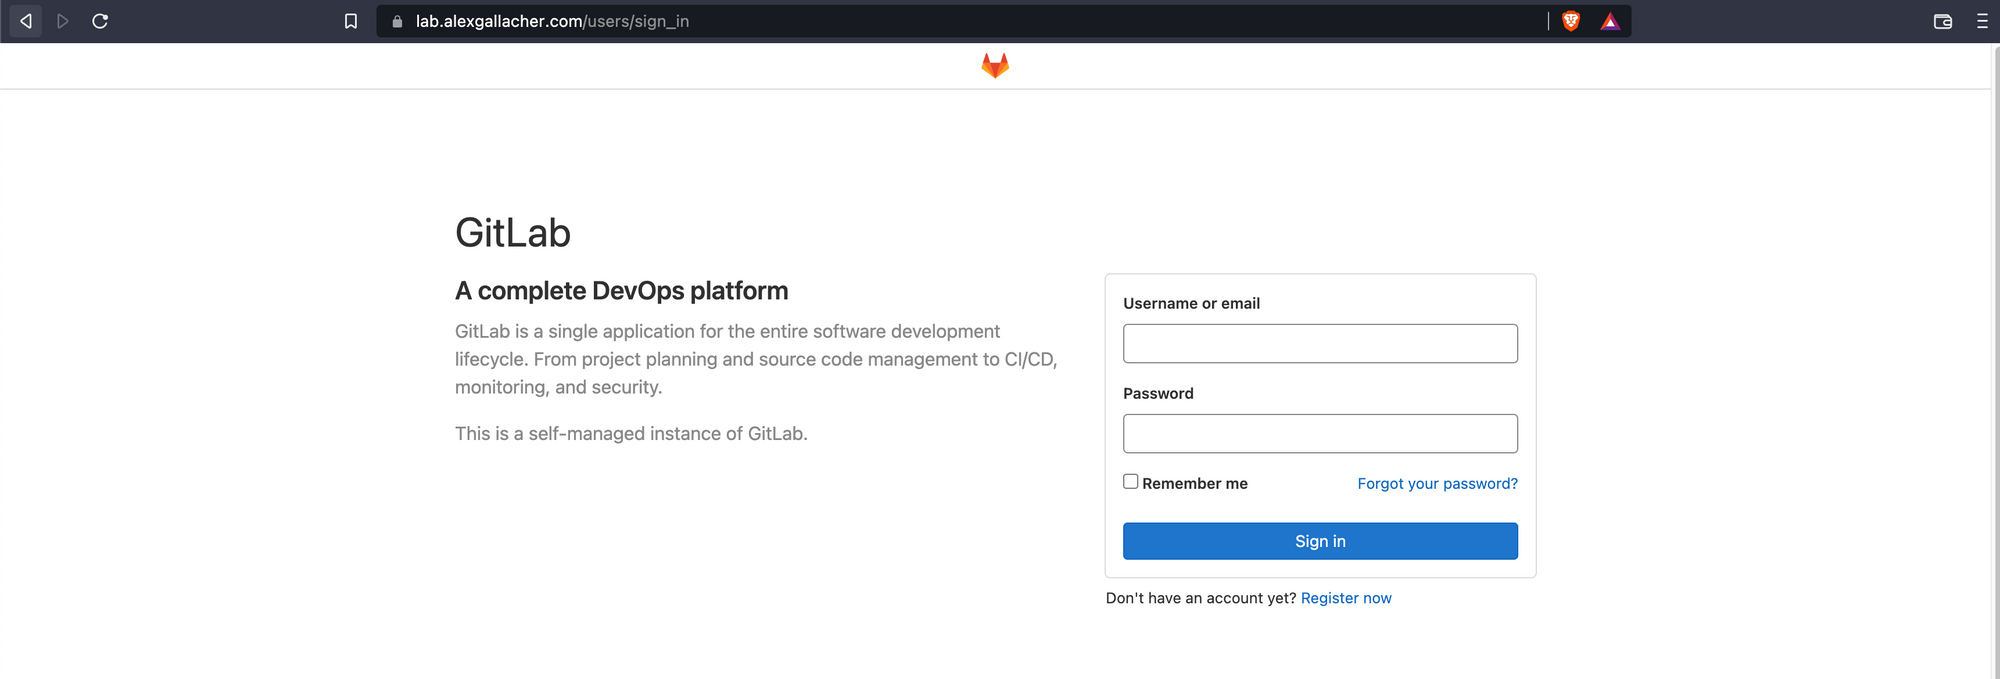
After 10-15 minutes you can browse directly to the URL, in my case this was lab.alexgallacher.com. To log in let's enter the credentials we created earlier in the Docker-compose.yml file.
In my case this is:
- username: root
- password: adminadmin
Configure Zero Trust rules through Cloudflare.
Great, we've got Gitlab running. Next, we need to use Cloudflare's Zero Trust technology to protect Gitlab.
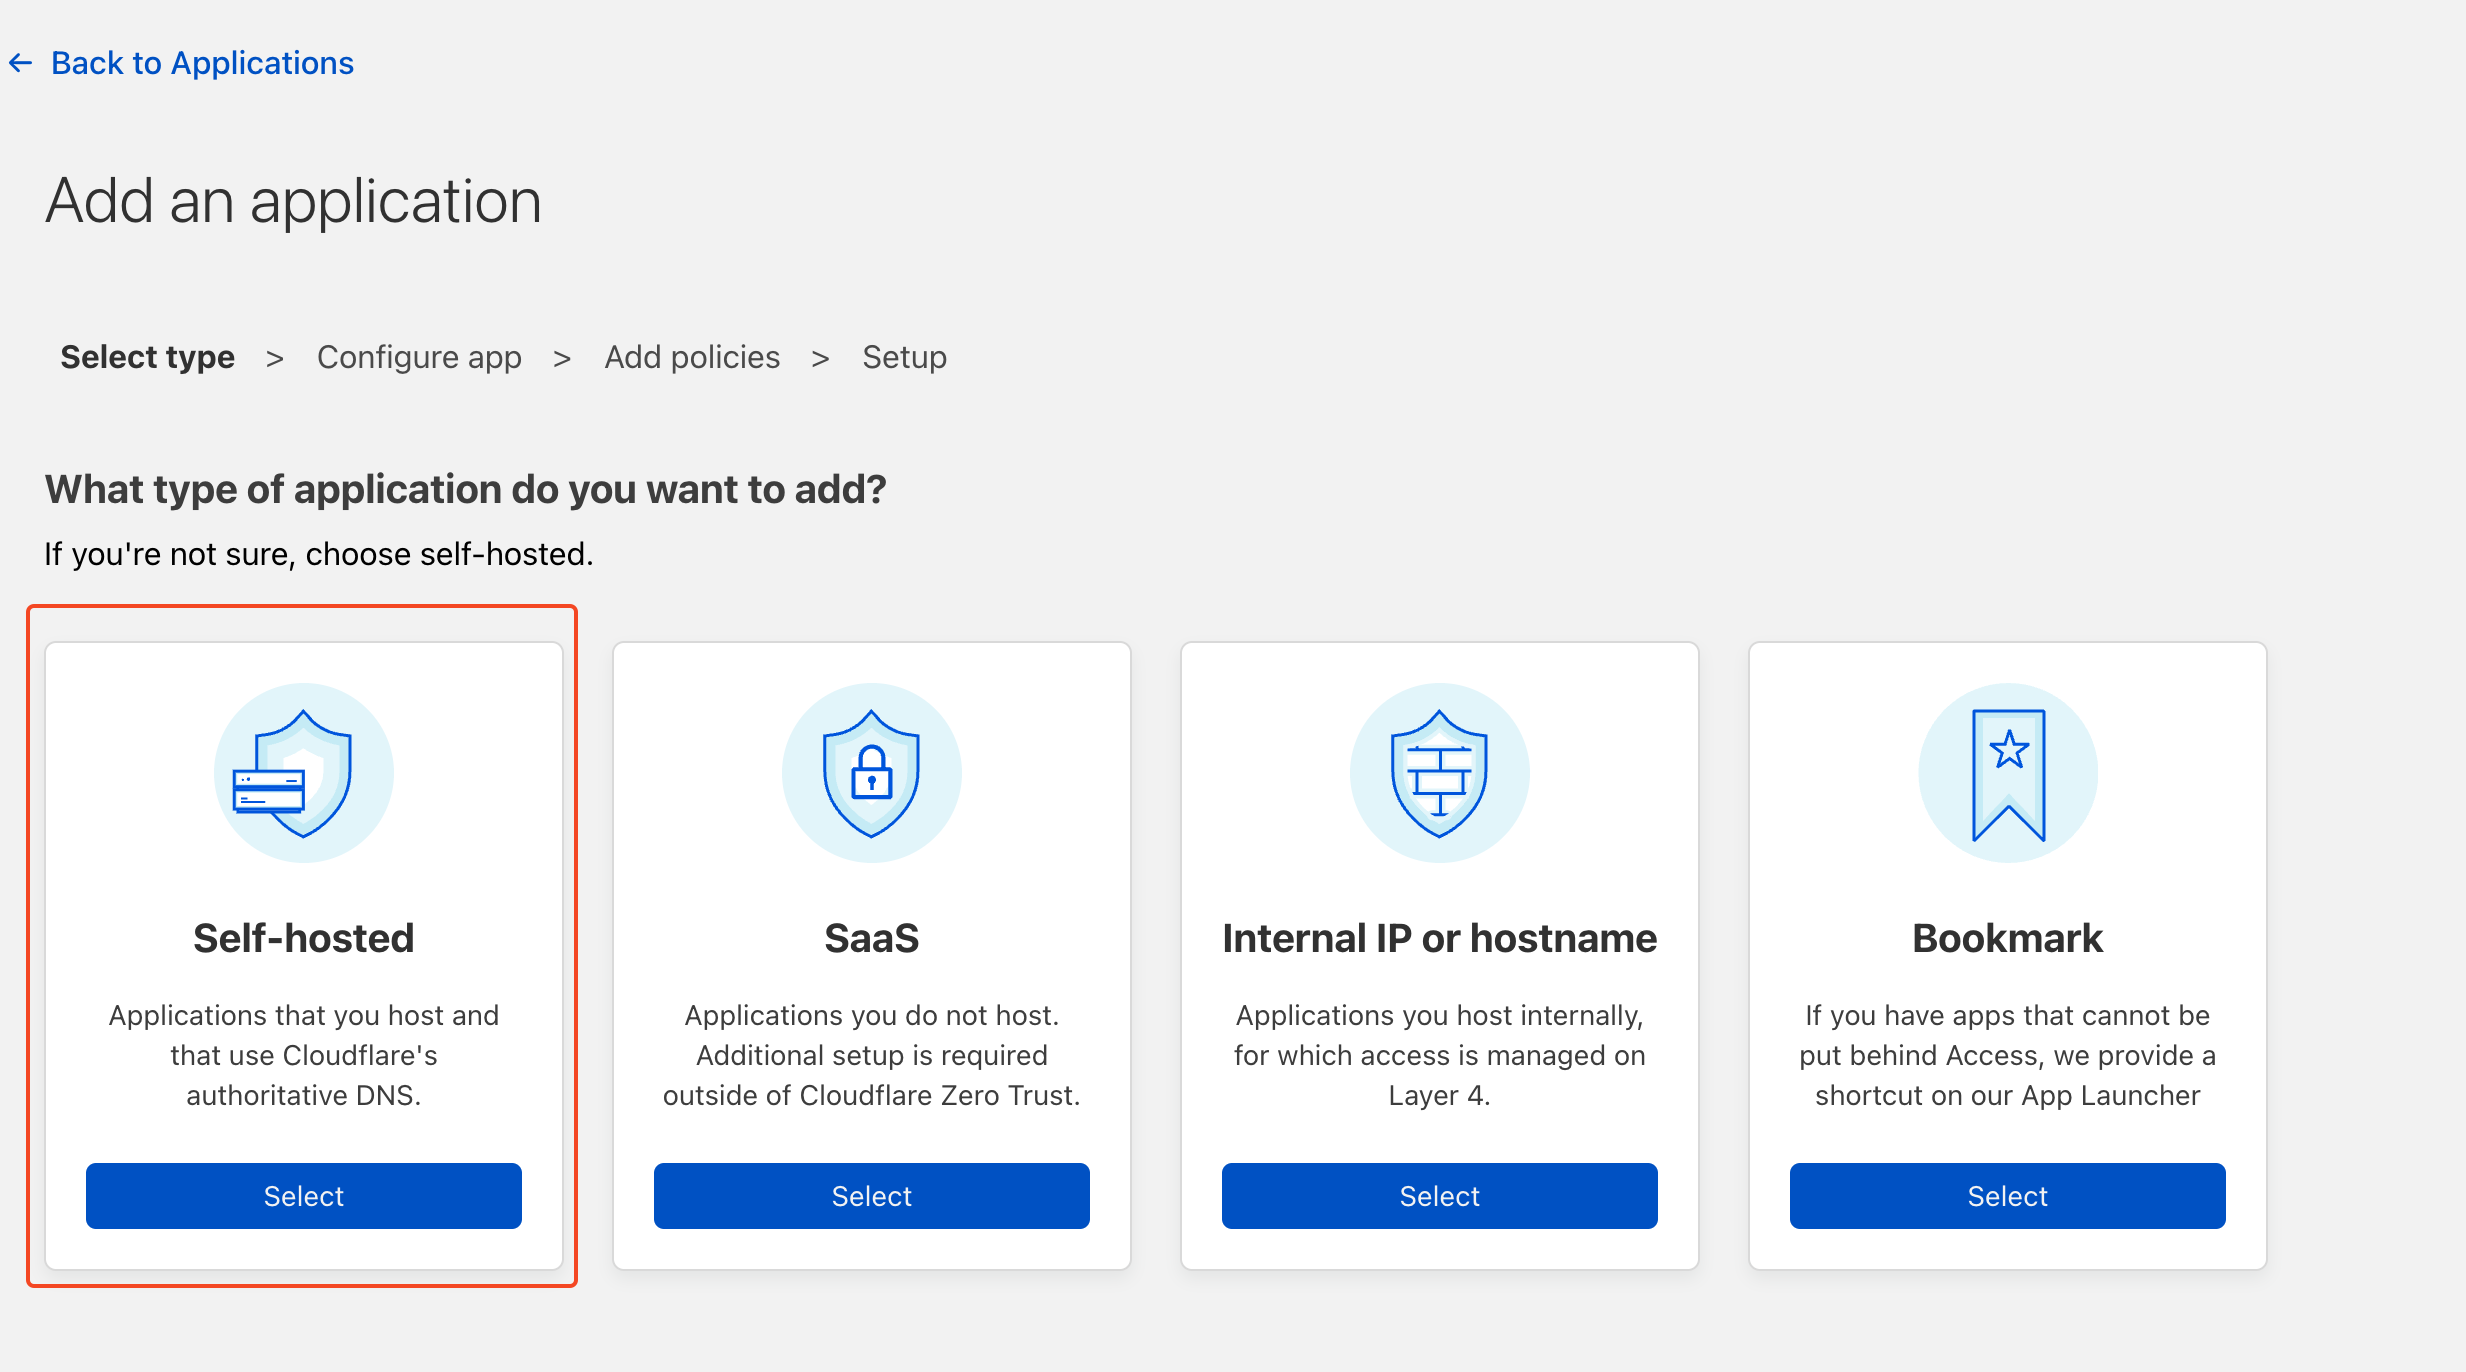
Go ahead and browse to Cloudflare Zero Trust. On the main page, you'll want to browse to Access -> Applications and then click on add application.

We need to select Self Hosted as we're self-hosting Gitlab
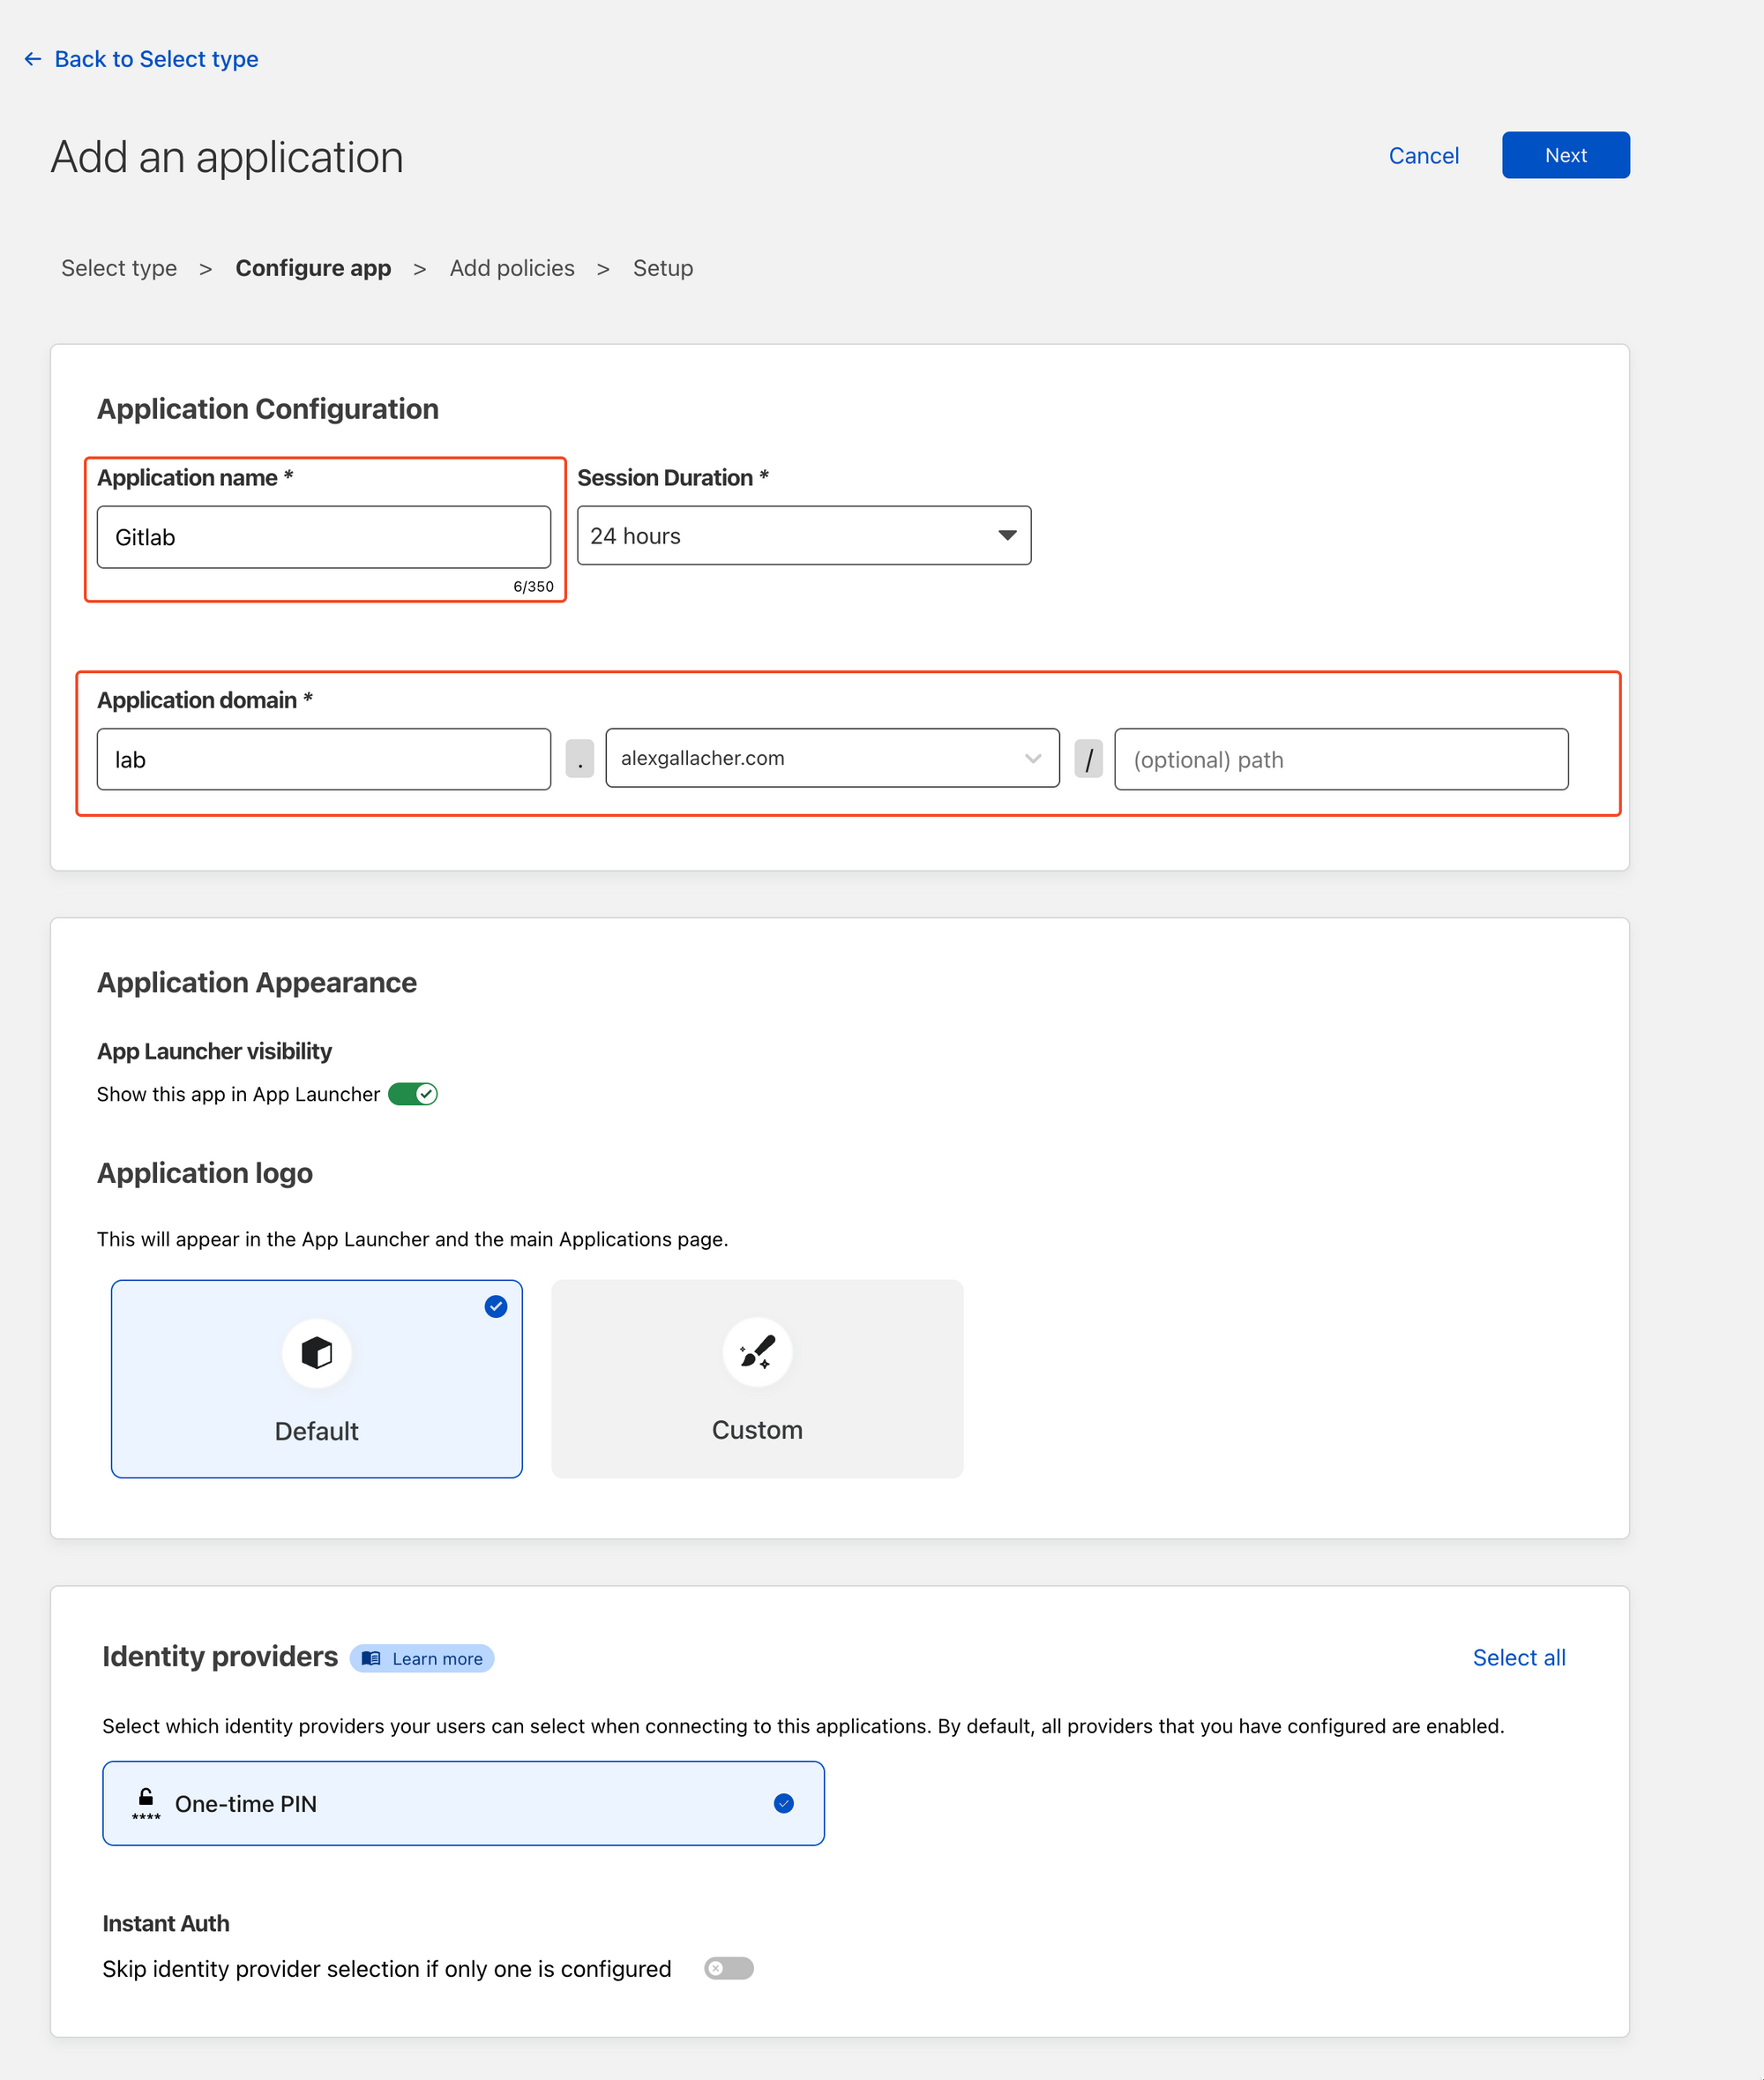
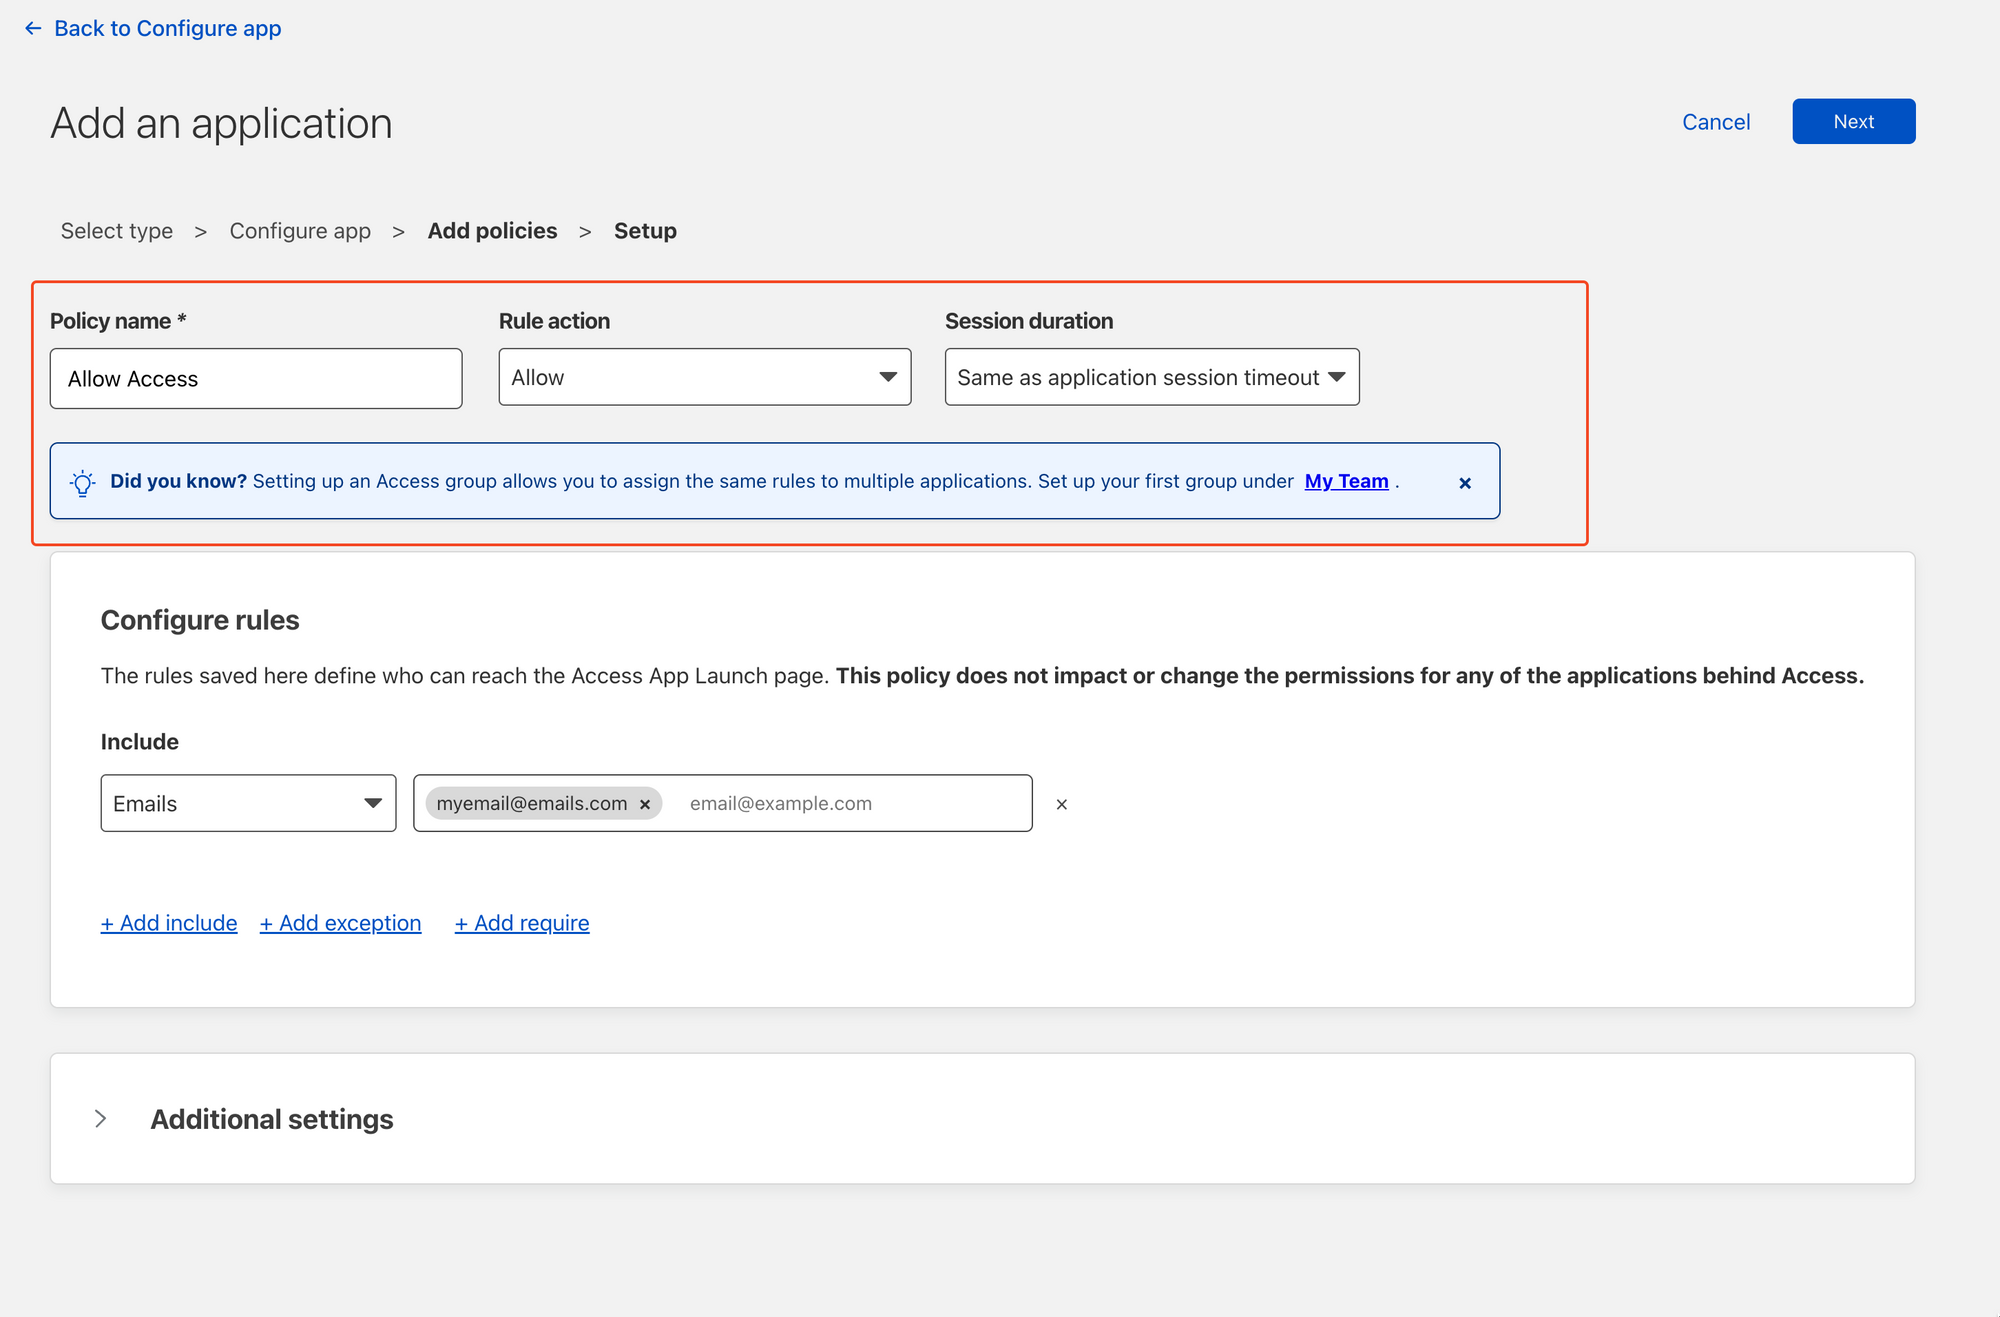
Add an application name. In my case, I'm calling mine Gitlab. We need to map the DNS CNAME location under the Application domain. In my case this is lab.alexgallacher.com. We don't require a specific/optional path as we want to protect everything under the lab.alexgallacher.com domain. Note the Identity Provider section highlight's we're going to be using a One time PIN. To access the page the end user will need to validate a One-Time Pin with Cloudflare.
Once you're done click next.
The next section covers configuring access to the protected domain. In my case, I'm going to create a simple policy to allow my email access to the domain via a One-time PIN. This means that when I enter this email, Cloudflare will validate that my email is allowed to be sent a PIN before sending it. Any other emails that are entered into the authentication page, outside of the rule will not be authorised to be sent a PIN.
Make sure you replace myemail@emails with your own email!
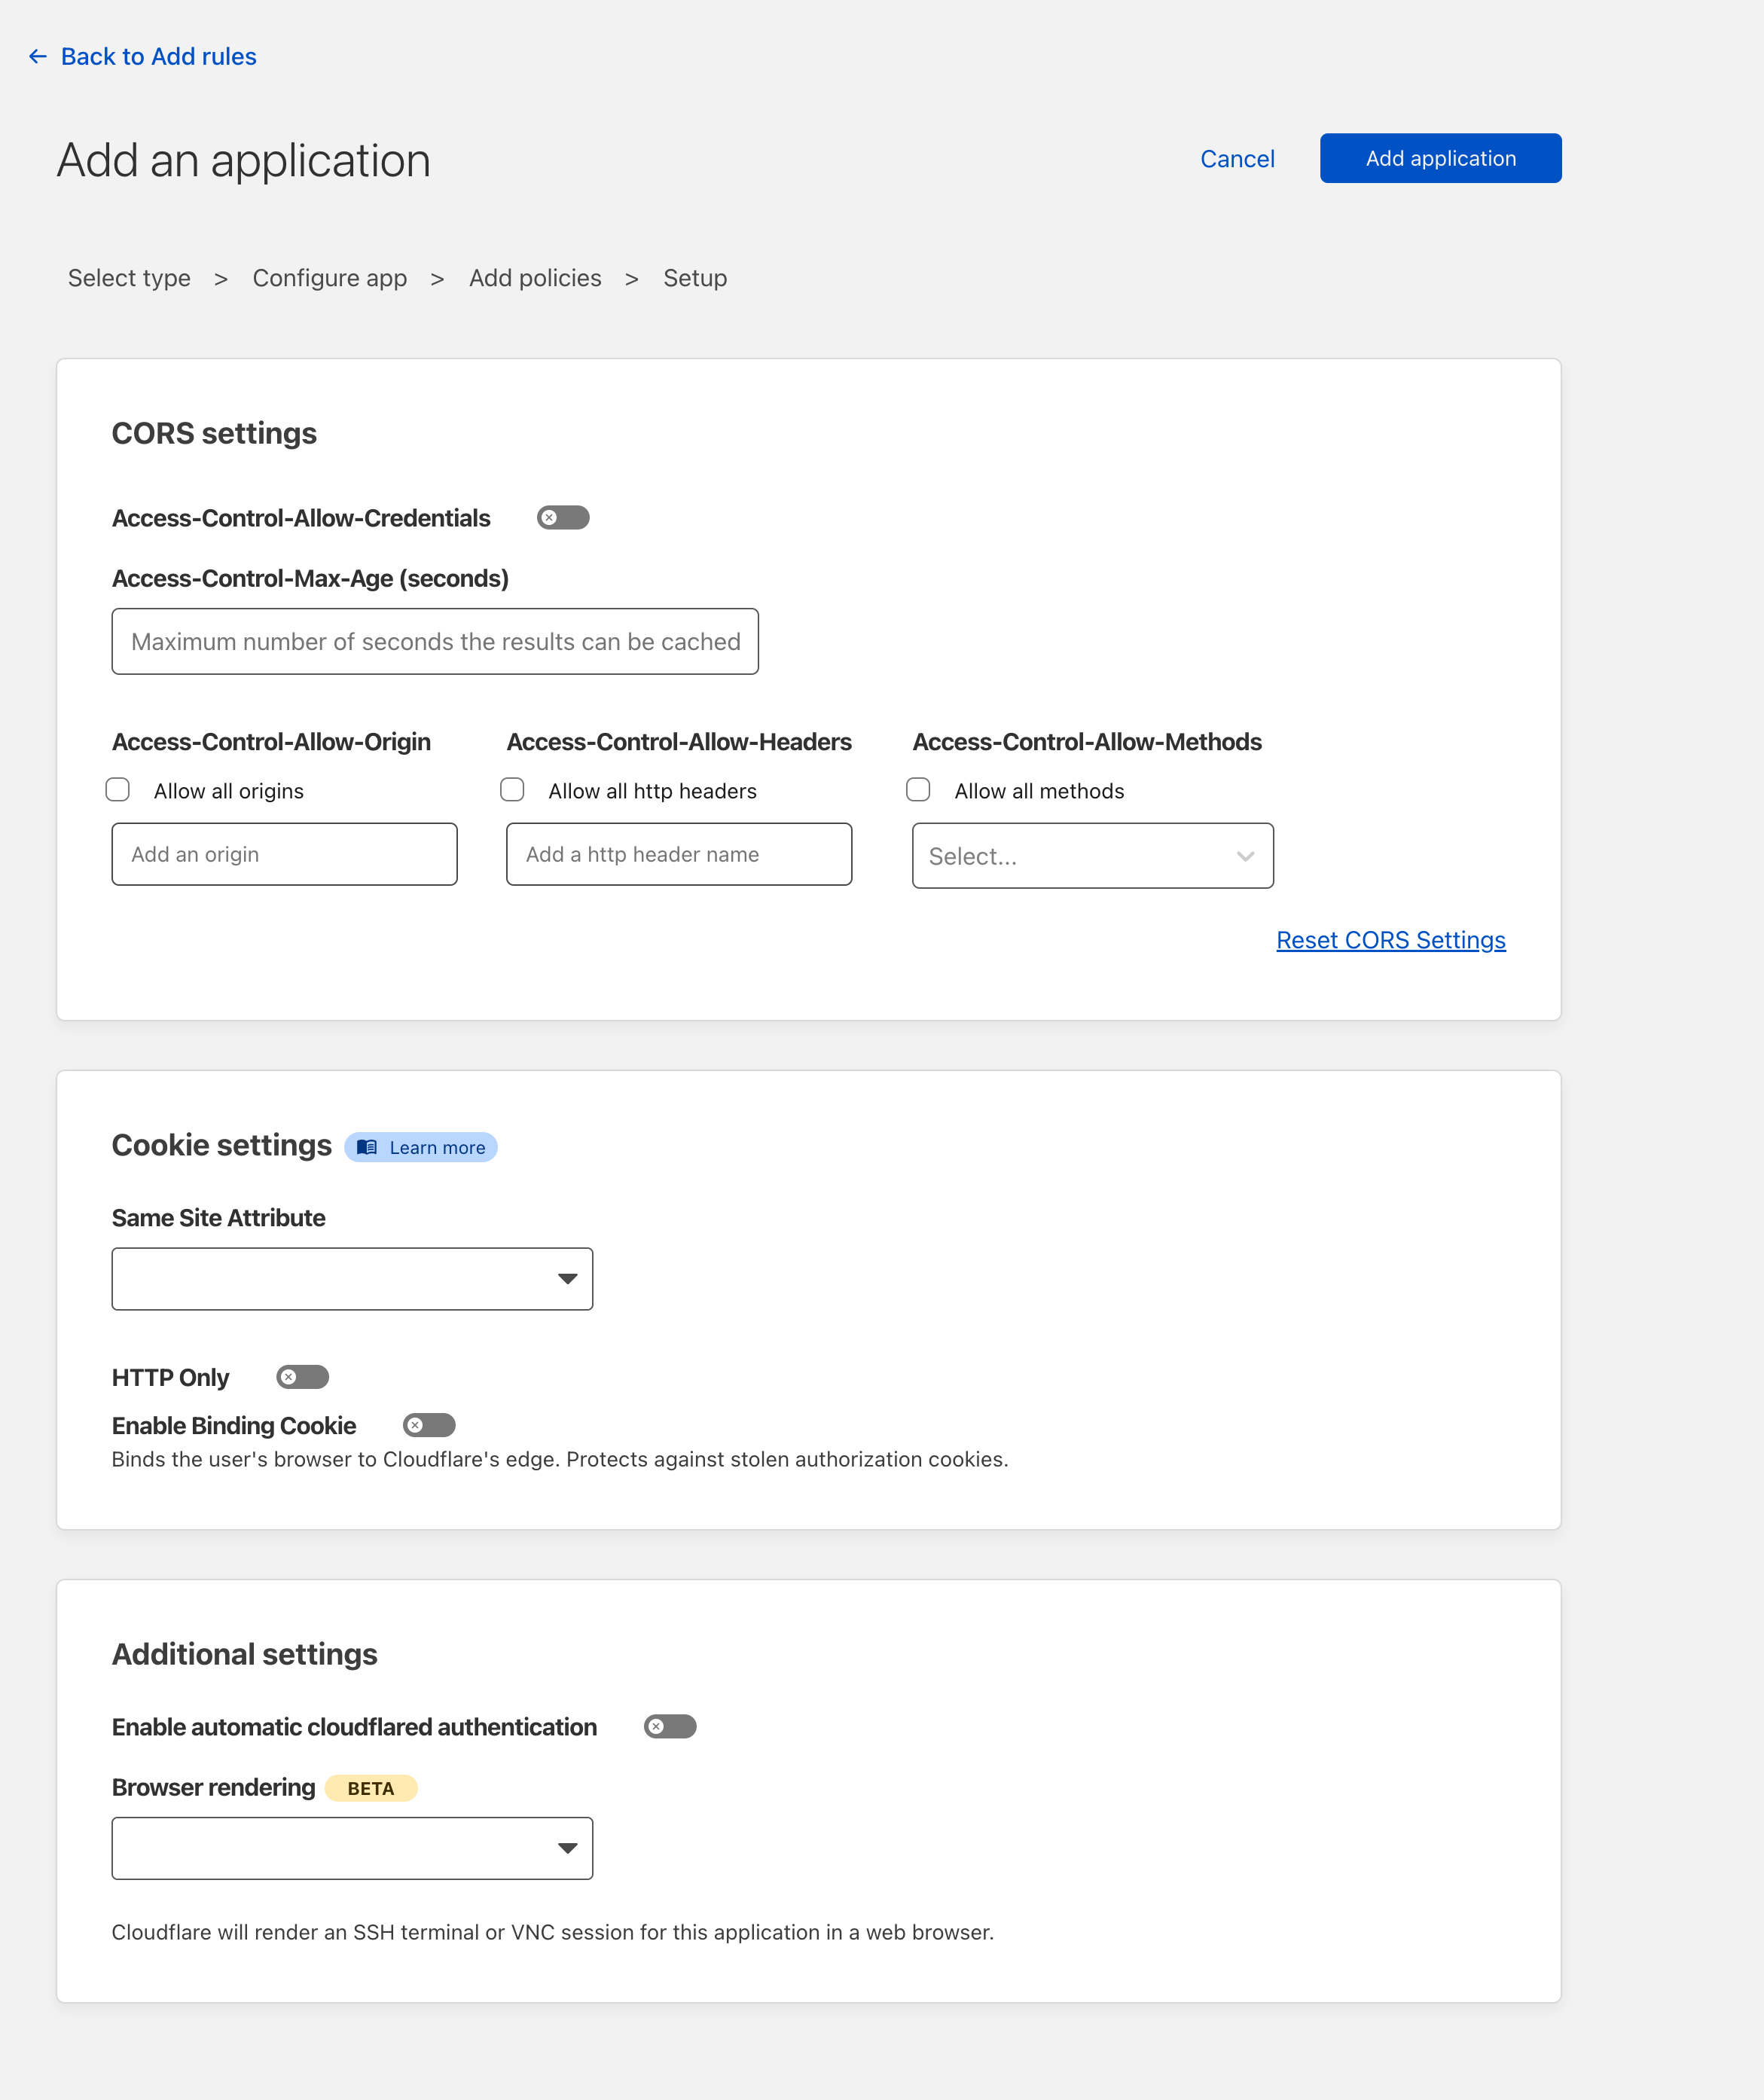
I'm going to leave the CORS and Cookie settings blank to make this as simple as possible, but if you're using this in production, this should be filled out and aligned with broader organisational policies as these are rather important settings we're skipping over.
Once done, go ahead and click "Add Application"
Testing Cloudflare Access is working
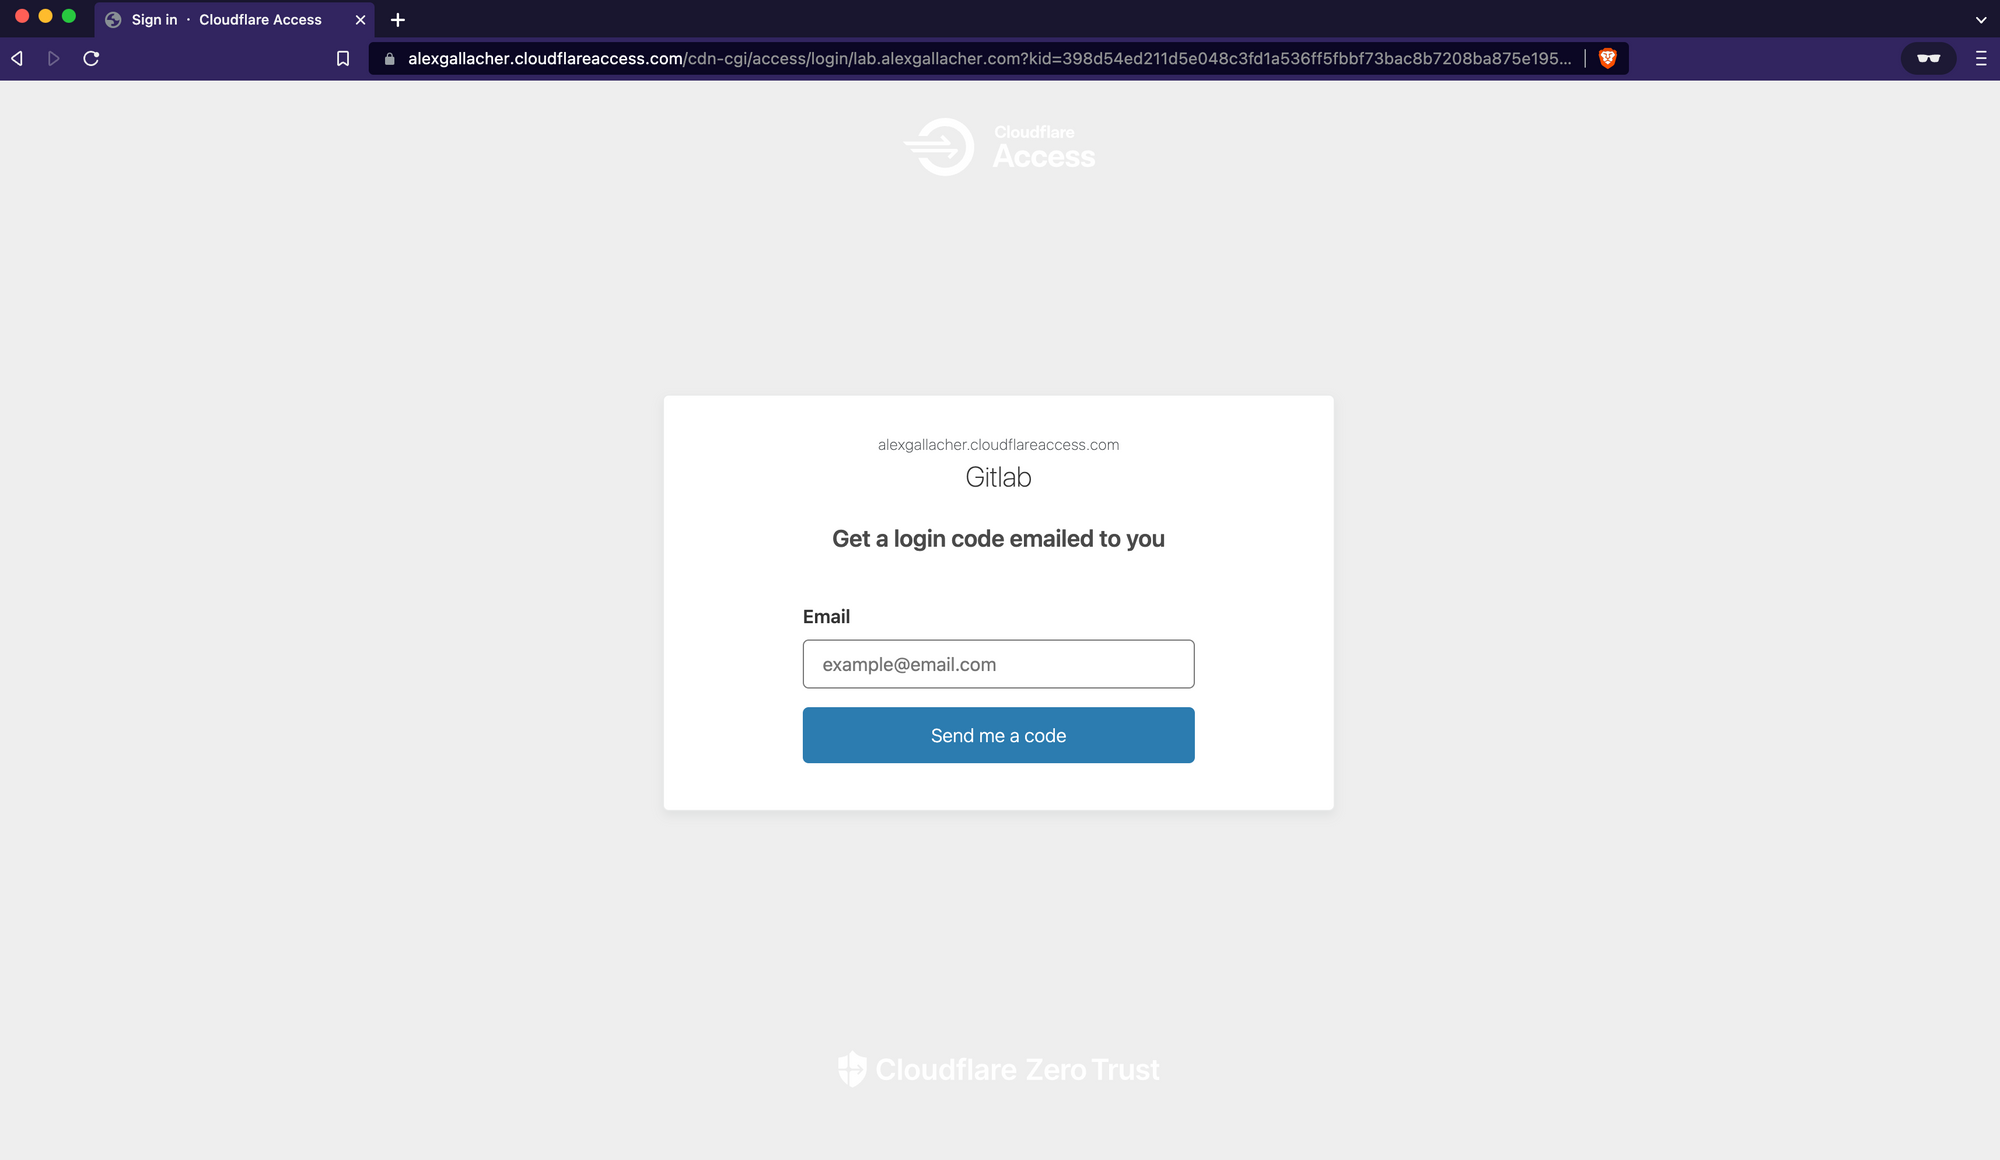
Once Cloudflare access has been configured, go ahead and browse back to the URL that you configured for Gitlab. You'll be presented with a Cloudflare-protected Authentication page. Any attempt to browse to any page under the lab.alexgallacher domain without a browser access cookie from Cloudflare (Which is currently set to expire after 24 hours based on the policy we just defined) will redirect the user back to the Cloudflare Access Page.
After entering my email (Which is validated in our policy rule on Cloudflare as being authorised to receive OTPs) I get an email from Cloudflare:
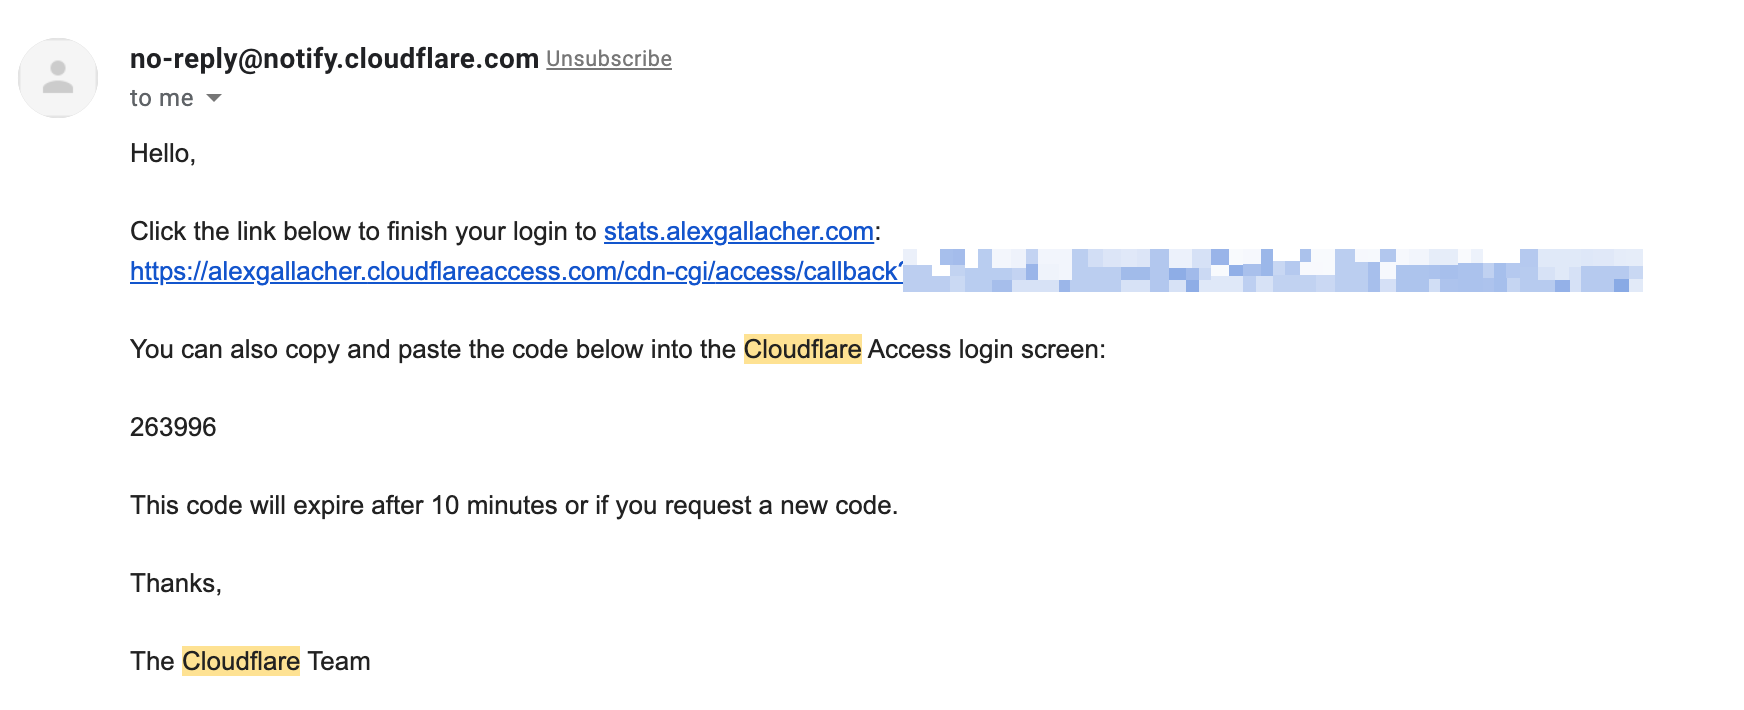
If you click the link you'll be authenticated into the protected page for 24 hours as defined in our policy.
Conclusion
Cloudflare's Zero Trust platform is incredibly versatile for those self-hosting several applications in-house. Gitlab is a prime example. Check out how to protect a Ghost blog in my other article