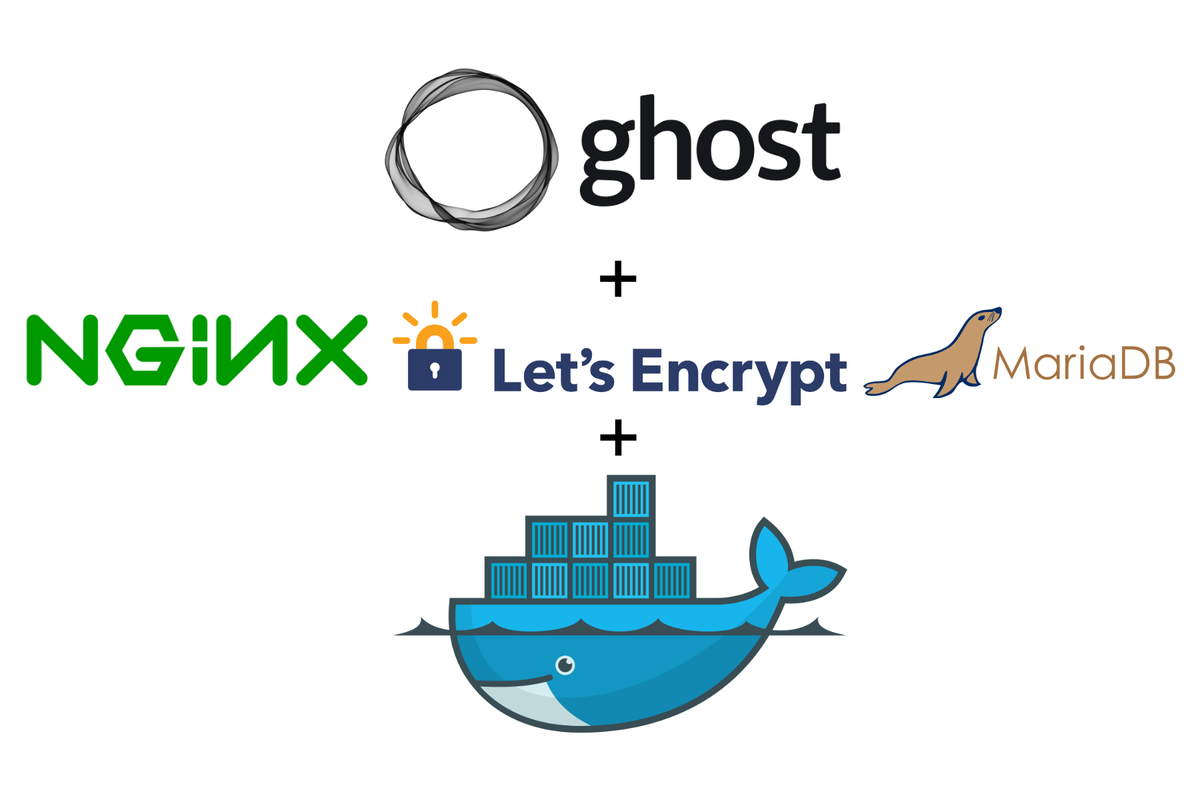
How To Setup A Ghost blog Using MariaDB with NGINX SSL on Docker
Learn how to set up your own Ghost blog with Maria Database on Docker Compose using NGINX and lets Encrypt for Traffic forwarding and Domain Certificate generation

Overview
In this post, we will set up Ghost from the official Ghost docker image with MariaDB and connect them to the NGINX reverse proxy.
Before you begin
👋 If you're looking for a secure way of setting up Ghost check out my post on how to set up Ghost using an encrypted tunnel to Cloudflare!
Setting up Ghost
Most applications consist of Multi-Container deployments which would consist of a variety of different services such as a Database, Backend service and publicly accessible Frontend all performing different functions. Ghost is no exception and requires a Database.
As the Database only talks to Ghost let's create a docker-compose.yml file that creates both services but only directly exposes the ghost blog and not the database to the internet through the reverse proxy to generate an SSL certificate from Letsencrypt and allows people from all over the world access the blog.
As we're creating a new service on our VPS, let's update our folder structure with the addition of a new directory called alexgallacher.com (Replace this with your blog address)

Ensure you're in the /home/akg folder before starting! I've created a quick bash command to make this a bit easier.
mkdir alexgallacher.com && cd "$_" && mkdir ghostblog && "$_" && mkdir ghostdata && mkdir sqldataCouple of important things to note here:
- We've created a ghostdata folder which will persist all ghost content such as all your images, text and configuration information such as the theme.
- We've created a sqldata folder which will persist all the SQL data such as tables and users generated by the Maria database.
- The .env is new and is used to store environment configuration items such as usernames and passwords that the container needs to use to connect to various other Docker services such as a database. These variables are pulled into the docker-compose.yml when the compose file is launched.
- The docker-compose.yml file is where we're storing the services that we wish to dockerise.
Define the Ghost and Maria database services using docker-compose.yml
Inside /home/akg/alexgallacher.com/ghostblog lets let's go ahead and define our services by creating a new docker-compose.yml file.
nano docker-compose.ymlFor this docker-compose.yml file, I've used the Ghost and the mariadb file images which are both publicly available and regularly updated.
version: '3.1'
services:
  alexgallacherblog:
    image: ghost:${GHOST_TAG}
    container_name: alexgallacherghostblog
    restart: unless-stopped
    expose:
      - 2368
    env_file:
      - .env
    volumes:
      - /home/akg/alexgallacher/ghostblog/ghostdata:/var/lib/ghost/content
    networks:
      - proxy

services:
  mariadb:
    image: mariadb:${MARIADB_TAG}
    container_name: mariadb
    restart: unless-stopped
    env_file:
      - .env
    volumes:
      - /home/akg/alexgallacher/ghostblog/sqldata:/var/lib/mysql

networks:
  proxy:
    external:
      name: nginx-proxy
Yaml file for deploying Ghost and Maria Database
Once you've copied this into the file press Ctrl+ O and then select Y to save the file. To exit the nano editor hit Ctrl + X.
Let's create our .env file to store our configuration items
We've defined a new directive in the docker-compose.yml file called env_file which forces docker to read all the parameters for the two services we're deploying on the fly when the service containers are launched to ensure we have connectivity between all the containers.
Inside /home/akg/alexgallacher.com/ghostblog lets let's go ahead and define our services by creating a new docker-compose.yml file.
nano .envThere are several different configuration items you can parse through to the containers when they're created. I've included all of the parameters you must have for the services to start and connect to each other.
Must-Have Parameters
#### MYSQL Config ####
MYSQL_ROOT_PASSWORD=<Random Complex Password>
MARIADB_TAG=<What version of mariadb you want to use i use latest | latest>
MYSQL_DATABASE=<Database name | alexgallacher>
MYSQL_USER=<Database user | alex>
MYSQL_PASSWORD=<Database Password | Welcome123>

#### GHOST Config ####
GHOST_TAG=latest
NODE_ENV=production
url=<Your Domain | https://alexgallacher.com>
database_client=mysql
database__connection__host=<The Container_Name of your database | mariadb>
database__connection__user=<Your User for the database | alex>
database__connection__password=<Your Password for the database user | Welcome123>
database__connection__database=<The database name | alexgallacher>

#### NGINX Config ####
VIRTUAL_HOST=<Your Domain | alexgallacher.com>
VIRTUAL_PORT=<Port your running ghost on through the expose directive | 2368>
LETSENCRYPT_HOST=<Your Domain | alexgallacher.com>
LETSENCRYPT_EMAIL=<Your Email>
.env file containing all the required variables to spin up the service
Once you've copied this into the file press Ctrl+ O and then select Y to save the file. To exit the nano editor hit Ctrl + X.
There are a couple of things to note here:
- The MYSQL_DATABASE, MYSQL_USER and MYSQL_PASSWORD must match those that you are asking Ghost to connect to the Maria database with.
- GHOST_TAG & MARIADB_TAG are used to define what version of the image you are wanting to run, latest takes the latest version available on DockerHub.
- NODE_ENV tells ghost we want to run our application in production so it should make the appropriate configurations to do so.
- VIRTUAL_HOST, VIRTUAL_PORT is used by the NGINX container to correctly route domain requests from the internet to view the blog
- LETSENCRYPT_HOST and LETSENCRYPT_EMAIL are used by the NGINX SSL Companion container to negotiate an SSL certificate for the domain to be used by the container.
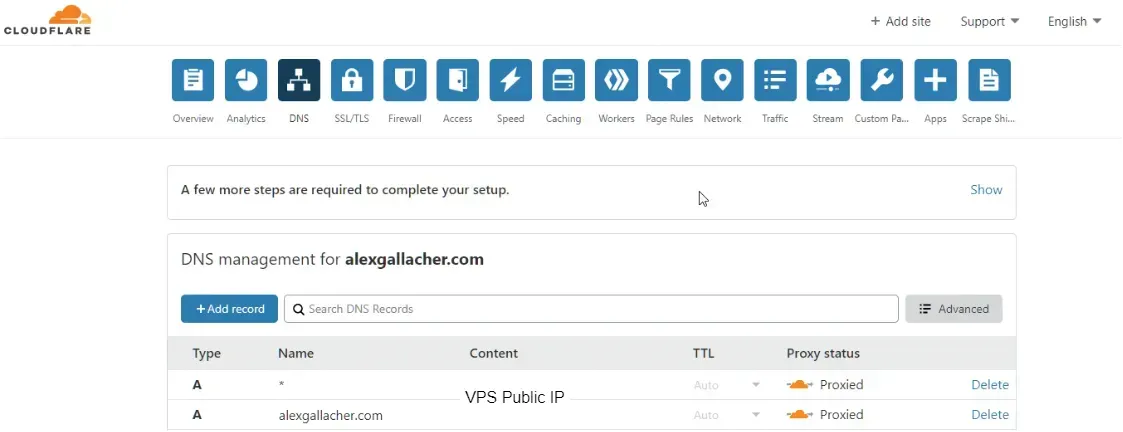
Updating DNS Records To Point to your VPS
Before we spin up the services we've just defined we need to ensure our Domain for our blog is pointing toward our VPS public IP otherwise Certificate generation and request routing won't happen.
You can run the docker containers under any domains or subdomains you like, provided that their DNS is pointed to the VPS you have set up.
I run all my applications on either a subdomain or the root domain of alexgallacher.com so all we need to do is browse to the DNS tab on your Cloudflare or equivalent DNS provider and add two new A records one for alexgallacher.com and one for *.alexgallacher.com pointing directly to your VPS's public IP. This way if you continue to deploy new services under subdomains such as files.alexgallacher.com you won't have to go back and update any DNS records again.
Start the two services
Let's execute the command to tell Docker to create our instances based on our docker-compose.yml file. This may take a while as it has to download, extract and install the docker images the first time it runs.
sudo docker-compose upAppending -d will detach from the docker logs for the docker-compose.yml file.
sudo docker-compose up -dConfirm the two Docker containers are now running by using the following command:
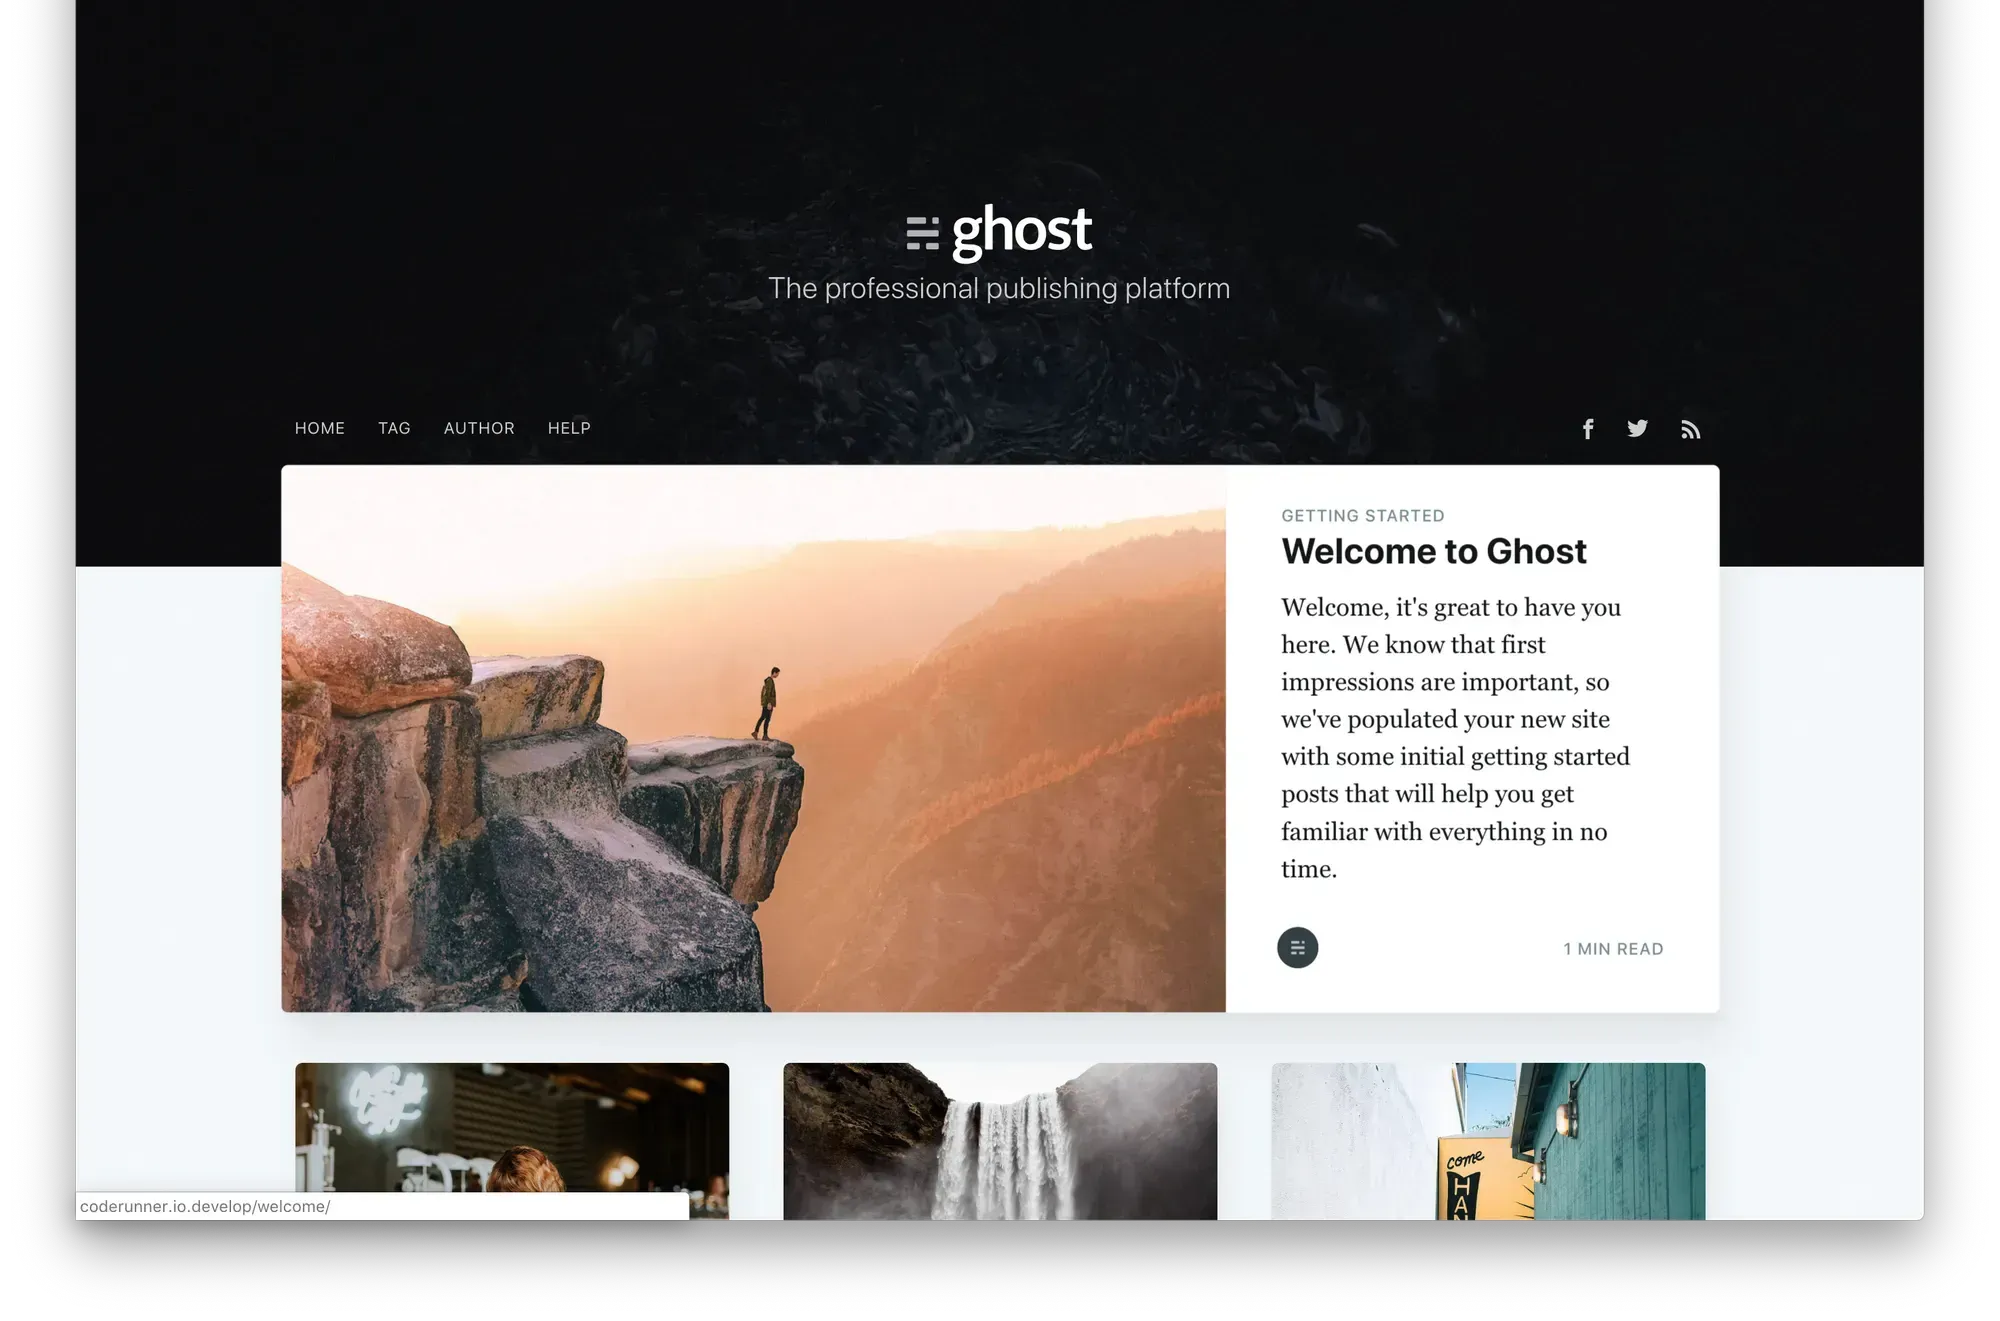
docker psOnce these two services are running, your NGINX proxy with its SSL companion will reach out to Letsencrypt to generate an SSL certificate. This process may take upwards of 30 seconds. Once this is complete you will be able to browse your ghost instance using the "ghost" path to get into the admin panel: https://<yourdomain>/ghost
Conclusion
Okay great you've set up your Ghost blog with Maria Database on Docker Compose using NGINX and lets Encrypt for Traffic forwarding and Domain Certificate generation.